Chapter 1: Creating a package
To create a new Ambient project, type the following in your terminal of choice after having installed Ambient:
ambient new my_project
Note: Initial build times can be slow, especially on Windows, where Rust compilation is slower. Subsequent builds will be faster.
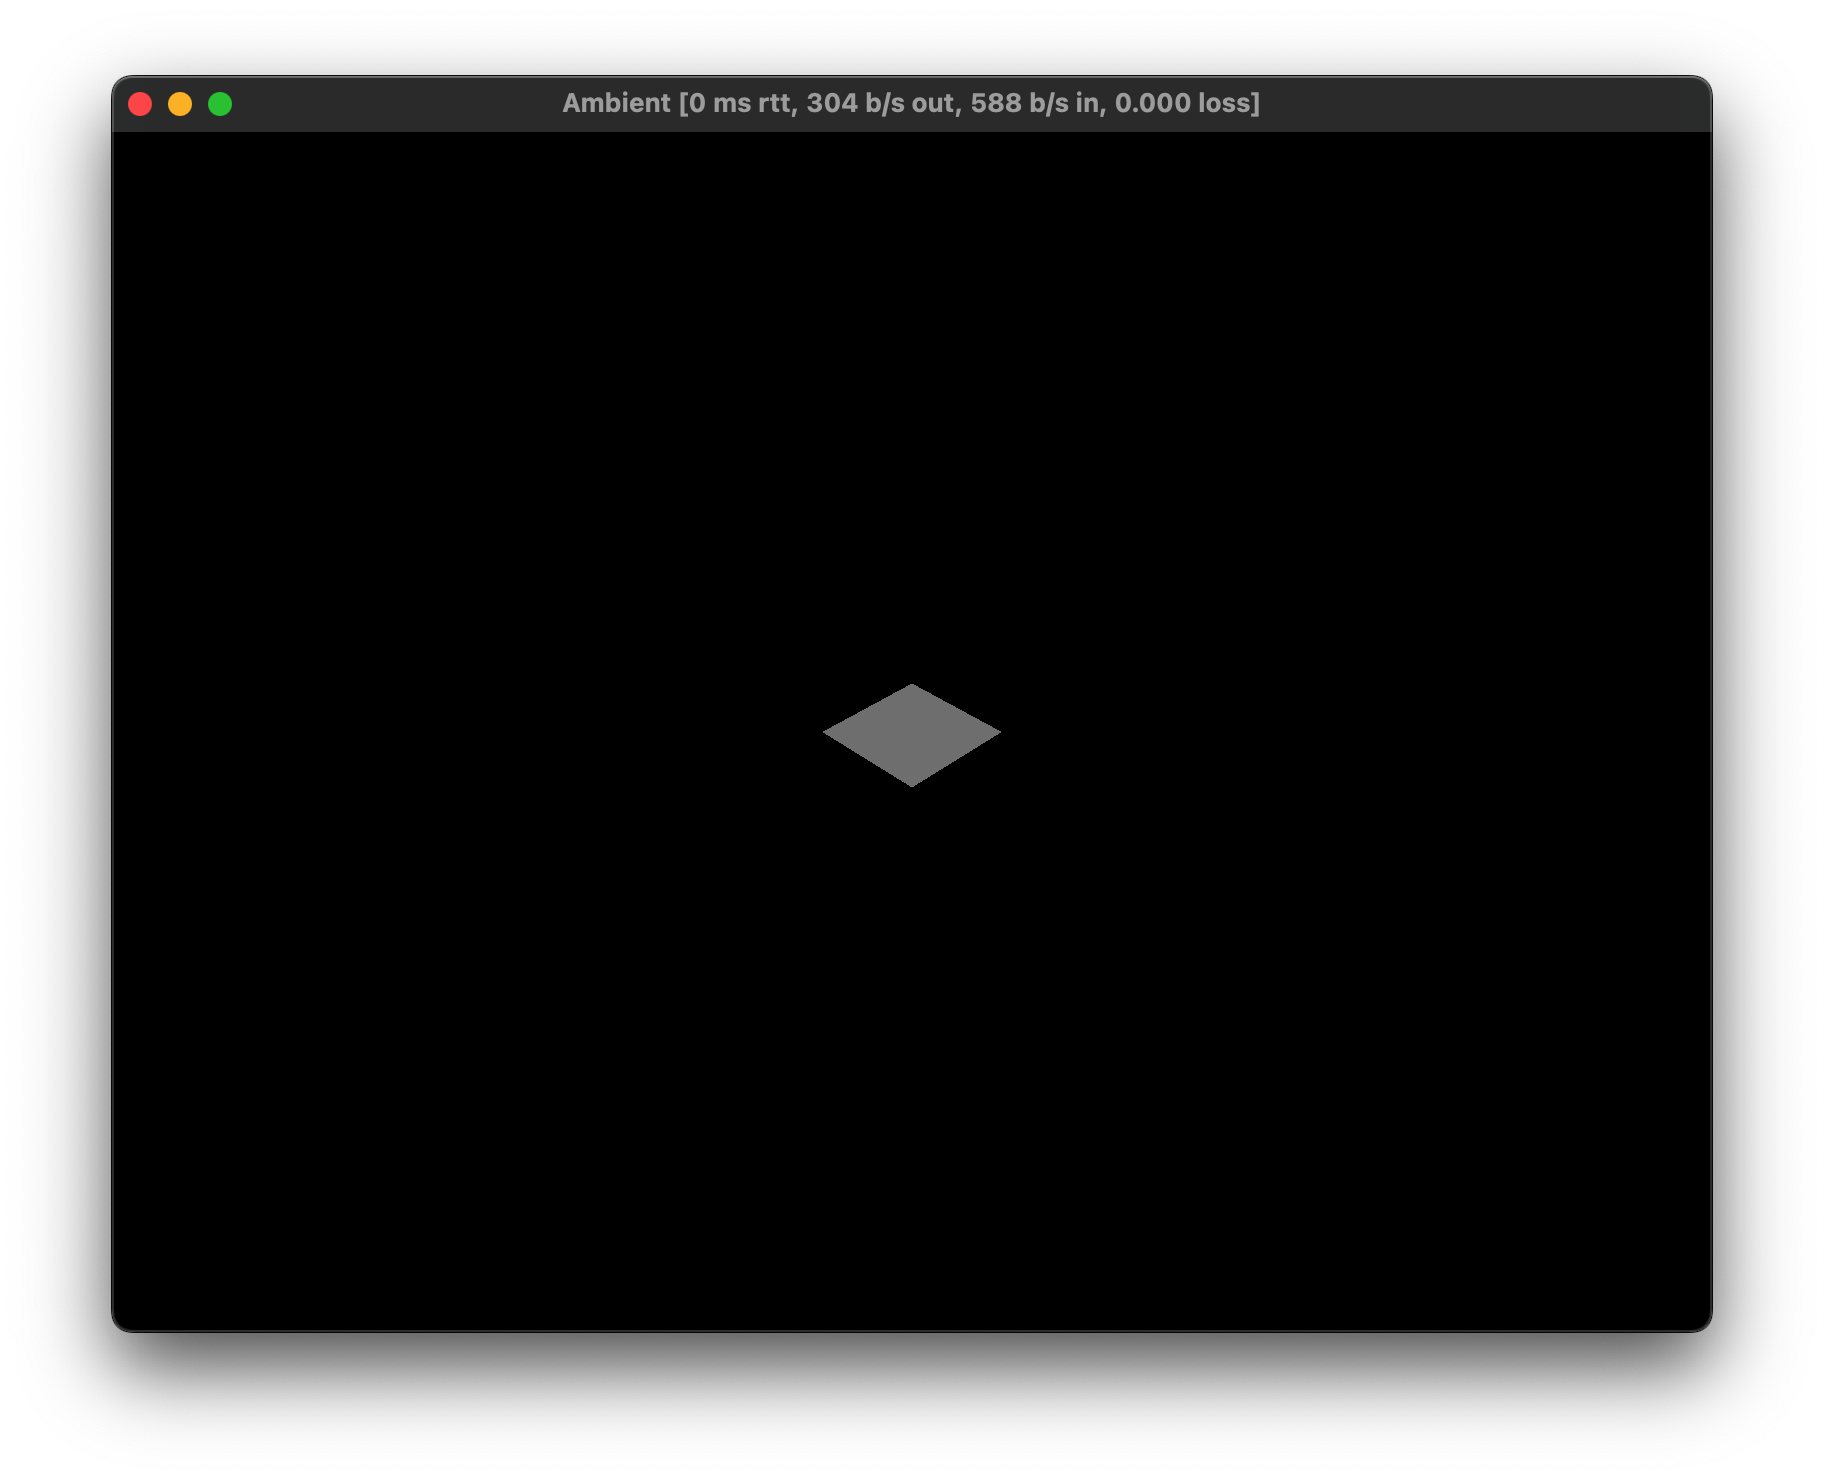
This will create a new Ambient package with the default template, which is set up for Rust and creates a quad and a camera.
In-depth: A package is a bundle of code and assets which can be deployed. Read more about packages here.
Enter the project folder by typing cd my_project, and then run it with:
ambient run
You should see a window like this:
Tip: You can also open the project in VS Code by typing
code .in the folder,code my_projectfrom the root folder, or using the right-click menu of your operating system if supported.
Tip: In VS Code, you can hit
F5to run the project.
Tip: Run with
--debuggerto show the debugger UI (i.e.ambient run --debugger). See the reference documentation on debugging for more info. In VS Code, you can switch to the “Debug” launch configuration and then pressF5to do the same.
If you would like to join the session from the same machine with a second client, you can run:
ambient join
However, within Ambient’s console output, a line should be present that looks like this:
Proxy allocated an endpoint, use `ambient join proxy-eu.ambient.run:9898` to joinThis can be used to quickly test a multiplayer game with another machine or with other people. Just copy the green text and send it to a friend to allow them to join your session.
Package structure
The basic structure of an Ambient package is as follows:
my_package/ambient.toml: This is where you define ECS components, messages and other data about your package.Cargo.toml: This is Rust’s equivalent ofambient.toml, which defines Rust-specific metadata like Rust dependencies and more.assets/: This folder contains all assets.pipeline.toml: A pipeline file decides how the assets will be processsed.
src/: This folder contains all source code.client.rs: This file contains the code that run on your player’s computers.server.rs: This file contains code that runs on the game server.
In-depth: You can read more about Ambient’s ECS in the ECS reference, and about Ambient’s asset pipeline in the asset pipeline reference.
Client and server?
Ambient targets multiplayer by default, which is why each new package comes with a server.rs and client.rs. Game logic is typically defined on the server, whereas the client forwards inputs and adds visual effects.
In-depth: For an introduction to the client-server architecture, go here.
Tip: Unsure about how to arrange your code? Check out where my code should go.
IDE setup
If you have installed the recommended VS Code tools, you should be able to hover your mouse over each concept or component to see the docs. The following screenshot is of server.rs:
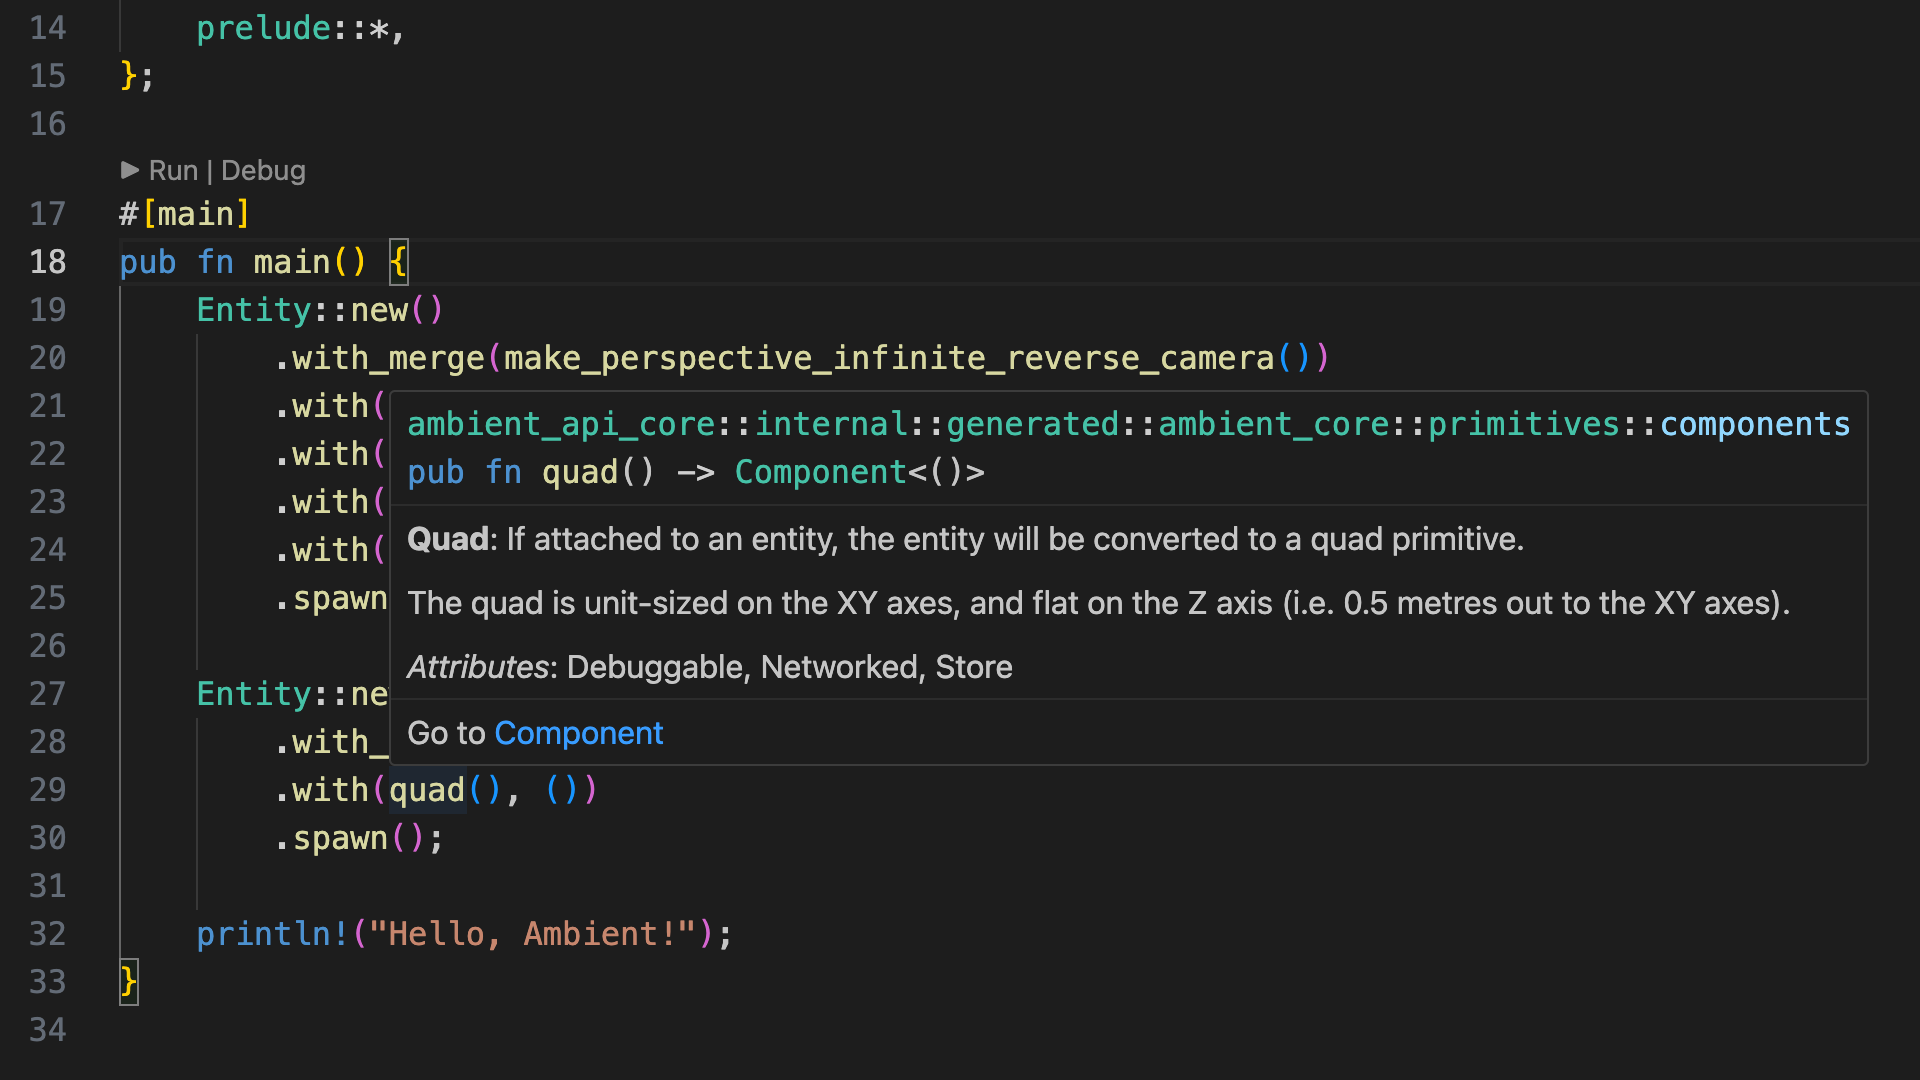
This will also give you auto-completion and a few other handy tools.
Tip: Use
Ctrl-.(Windows, orCmd-.on macOS) to bring up VS Code suggestions, such as automatic imports. Note that you may have to save after the fix is applied to for any errors or warnings to be updated.
Source: The complete code for this chapter can be found here.
Challenge
Try creating some cubes and changing their translation(), scale(), and rotation() components.
Tip: You can refer to the primitives example in the Ambient GitHub repository.
Source: The complete code for this challenge can be found here.